
Create your own · Halloween Lotería
Make a Halloween Lotería with your photos, drawings, and stories.
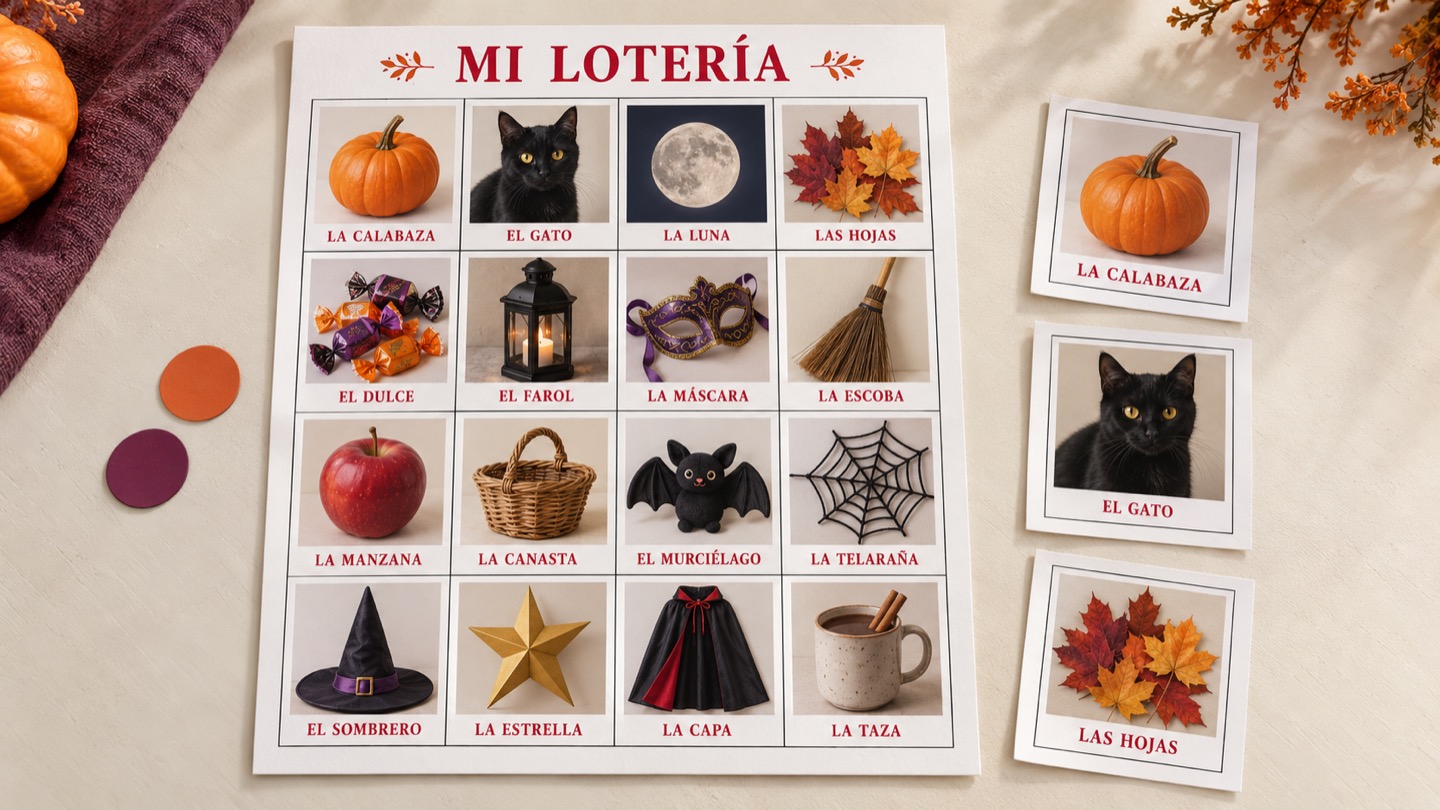
The costume nobody forgot. The very unimpressed cat. The porch everyone recognizes. Turn those details into a deck your group will know immediately.
Leer esta guía en españolA custom Halloween Lotería starts with a small creative decision: what makes this your group’s game? It could be homemade costumes, original spooky drawings, pets, or familiar objects with funny names. You do not need to imitate a finished deck to make something worth keeping.
This tutorial uses images you upload to Mi Lotería Maker. It does not depend on a special preloaded Halloween template, and it does not include the artwork from the separate Spooky Lotería product. If you want a finished design instead, that ready-made option may suit your plans better.
In this guide
Product preview
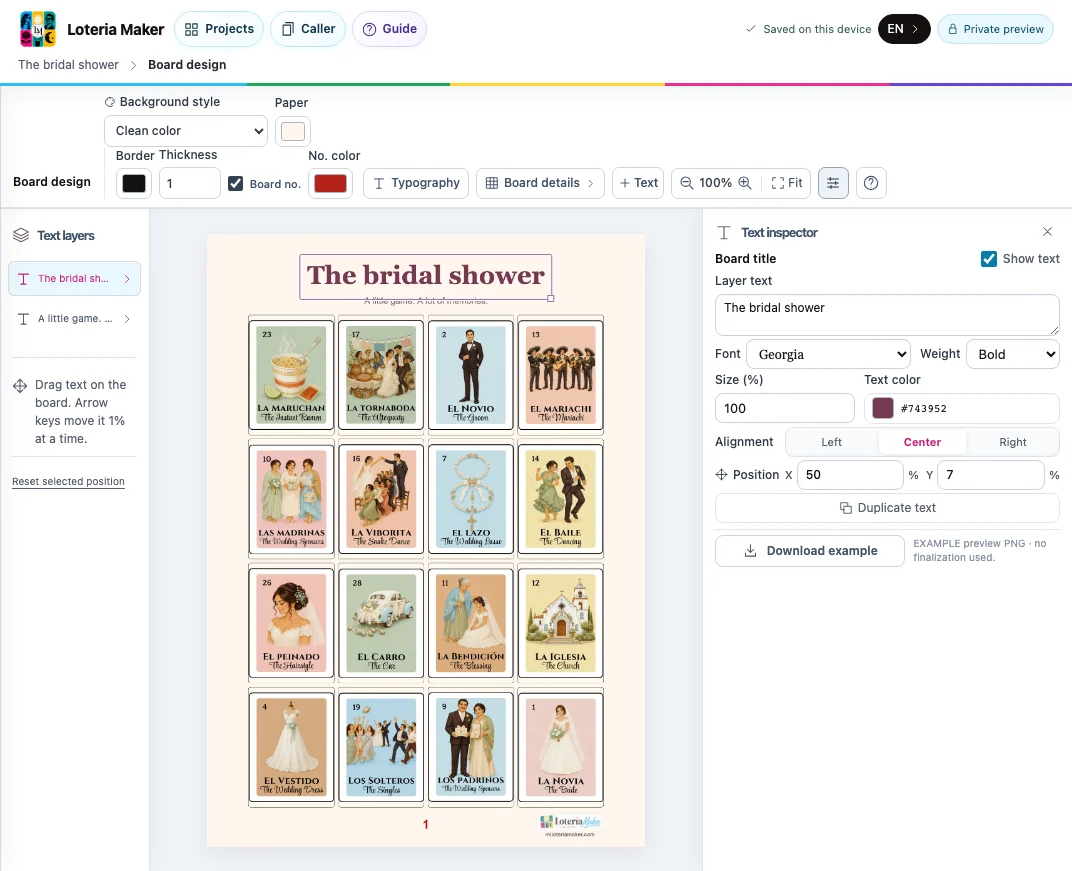
The board-design step in the Maker
1. Choose the mood and make a card list.
Pick a direction before opening the editor: playful costumes, gentle autumn pictures, or a spooky theme your guests are comfortable with. A consistent mood makes it easier to choose images and decide what to leave out. Preview any unsettling imagery with the people responsible for the event.
Write a working name for each card beside the image you plan to use. Choose pictures that look different at a small size. Five nearly identical pumpkin photos are harder to match than a pumpkin, a lantern, a costume hat, a pet, and a front door.
- The Costume / El Disfraz: a photo the person is happy to share.
- The Pumpkin / La Calabaza: your own photo or drawing.
- The Black Cat / El Gato Negro: a pet portrait, with the owner’s permission.
- The Flashlight / La Linterna: an easy-to-recognize object.
- The Snack Table / La Mesa de Botanas: a detail from your own gathering.
2. Gather images you have permission to use.
Use your own photos and drawings, or images whose permission or license covers what you plan to do. Finding a character, illustration, or photo online does not by itself give you permission to put it in your game. Keep a note of where permission came from.
Ask before using someone’s face or an embarrassing costume memory. Crop out addresses, school badges, private messages, and other details that are not part of the game. For a school project, follow school policy and permission requirements; original drawings and object photos can avoid the need for identifiable student pictures.
3. Add the cards and give each one a clear name.
Start a project in the Maker, upload your selected images, and name the cards. Check each crop: the recognizable part of the picture should remain visible, with room for the label. A joke works best when the image still makes sense to a first-time player.
For a bilingual deck, enter the English and Spanish wording you want on each card. Keep names short, check accents and spelling, and ask a fluent speaker to review phrasing you are unsure about. Do not assume an uploaded photo will arrive with a correct translated label.
4. Design the boards, then generate the matching set.
Once the deck looks right, move to the board-design controls. Choose a layout and styling that keep the pictures and names easy to read. Dark Halloween colors can work around the edges, but check that they do not hide important details or make the text difficult to see.
Generate the boards from this same project. The calling cards and boards need to share the same images; a deck from another game will not reliably match. Count how many people or pairs will play, then make enough boards for that plan. A Maker project supports up to 100 boards.
5. Review everything before a final save.
Look through the card deck and board previews together. Fix a misspelled name, a tight crop, or a hard-to-read label now. Ask someone who did not design the game to identify a few images: the picture that is obvious to you may need a clearer name.
You can create and preview before buying a Maker Pass. One pass covers one project, up to 100 boards, 30 days to edit and finalize from the purchase date, and three final saves. Replacing a final set uses another of those saves. The third and last final save locks further editing, even if the 30-day window has not ended.
Only the current final set is retained in the project. Download a version you want to keep before replacing it. Downloading an already saved final set does not use another final save. Check the current pricing page before purchase; printed sets are separate.
- Check every image and label, not only the first page.
- Confirm the board count and that the calling deck belongs to this project.
- Finish your edits before using a final save.
- Keep the saved calling-card PDF and board PDF together.
6. Test one printed page and one practice round.
Download the saved files and follow their paper-size and layout instructions. Start at actual size or 100% scale and print one test page. Check the text, image edges, and cut lines before printing the rest. A print preview on your screen is not the same as checking a sheet in your hand.
For the practice round, give each player or pair a board and markers. Agree on a winning pattern, shuffle the matching calling cards, and draw one at a time. Say the name and show the picture. When someone calls “¡Lotería!”, compare the claimed pattern with the cards already drawn.
Want a finished deck instead? Keep the two routes separate.
The ready-made Spooky Lotería digital set has 54 bilingual calling cards and 40 unique 5 × 7-inch boards in two PDFs. Preview the full deck for your audience, then check the product page for its current price. Buying that set is not buying a custom Maker project. Printed Spooky sets are sold separately.
Whichever route you choose, use the theme thoughtfully. Halloween and Día de Muertos are distinct celebrations, not interchangeable names or a single set of traditions. This tutorial is for a Halloween game; a remembrance gathering deserves images and language chosen for that occasion.